7 Tips on Using Window Graphics to Help Boost Sales
When you are looking for ways to boost your sales, many people overlook one of the most obvious assets you have to exploit – your windows!
Using window graphics effectively can be a fantastic and low-cost way of grabbing prospective customers’ attention and increasing footfall to your store.
So how do you make the most of this asset and opportunity? How can you really maximise the benefits? Well, below are my top seven tips…
1. Put yourself in your customer’s shoes
The most important thing you can do is to truly try and understand your customers. Or your potential customers.
Go outside your shop. Imagine walking in their shoes. Where are they going? What are their problems? What kind of things might they be interested in?
Do people tend to be wandering, or in a rush somewhere? Are they looking for inspiration, something to make them laugh?
And, even better, talk to people. Rather than just imaging, while your outside, engage with people and here first hand. Listen and empathise with them. This is where the greatest ideas and solutions come from.
2. A single focus
Once you’ve gone through a process of empathising with your customers and understanding their needs, you can be left with a lot of information to digest.
There could be a lot of problems or needs, that you could focus on solving. And you may have so many things within your store that could be helpful to them if they only knew.
But you need to be careful. Remember, this isn’t about telling them EVERYTHING THAT YOU DO… this is about catching their attention and showing them ONE THING that would cause them to stop in their tracks, go in and investigate.
And it’s really, really worth taking the time at this stage to sort through all the insights and information about your customers, to identify the one thing you’re going to talk to them about. The problem or area of need, that you think will be the most impactful.
3. Generate lots of ideas
Now you know your focus – it’s time to come up with some ideas.
At this stage, it’s about generating as many options as you can around the topic you’ve decided on. Don’t worry too much about practicalities yet, or final designs, it’s just about brainstorming ideas.
And for now, there’s no such thing as a bad one (as long as it’s still focused on the topic and single purpose you’ve decided on).
If you do get stuck, there are lots of different methods and tricks you can use. Check out this guide from Cleverism which outlines 12 helpful brainstorming techniques.
For us, Rapid Ideation has always been a firm favourite.
We pull together your project team – from account managers and designers to installers and print specialists. Your project lead will brief the team on the topic, context and insights.
And then we take out the post-it notes, set a time limit and we start jotting down as many thoughts and ideas as we can about the topic.
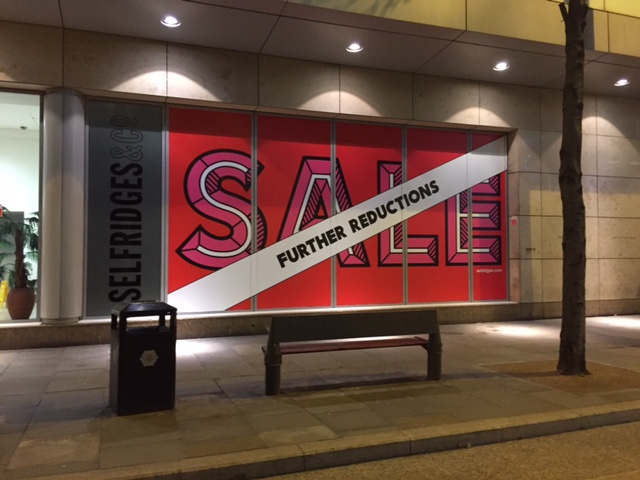
4. Short and snappy copy!
Once you have finished generating ideas, you can start the process of whittling these down. You want to select the most engaging and effective idea, that has the best chance of creating impact with passers-by.
But usually, this idea may need a little bit more work to bring it from post-it-note to something you can give to your design team. And the next step is to start focusing in on the copy. You want the text to be short, snappy and engaging.
Remember you’ve only a few seconds to grab someone’s attention as they’re walking past. It has to be easy to read to capture their interest immediately.
At this stage, you might have a few different lines that you think could work. That’s okay and actually may help the designers develop one or two different options for how it could look visually.
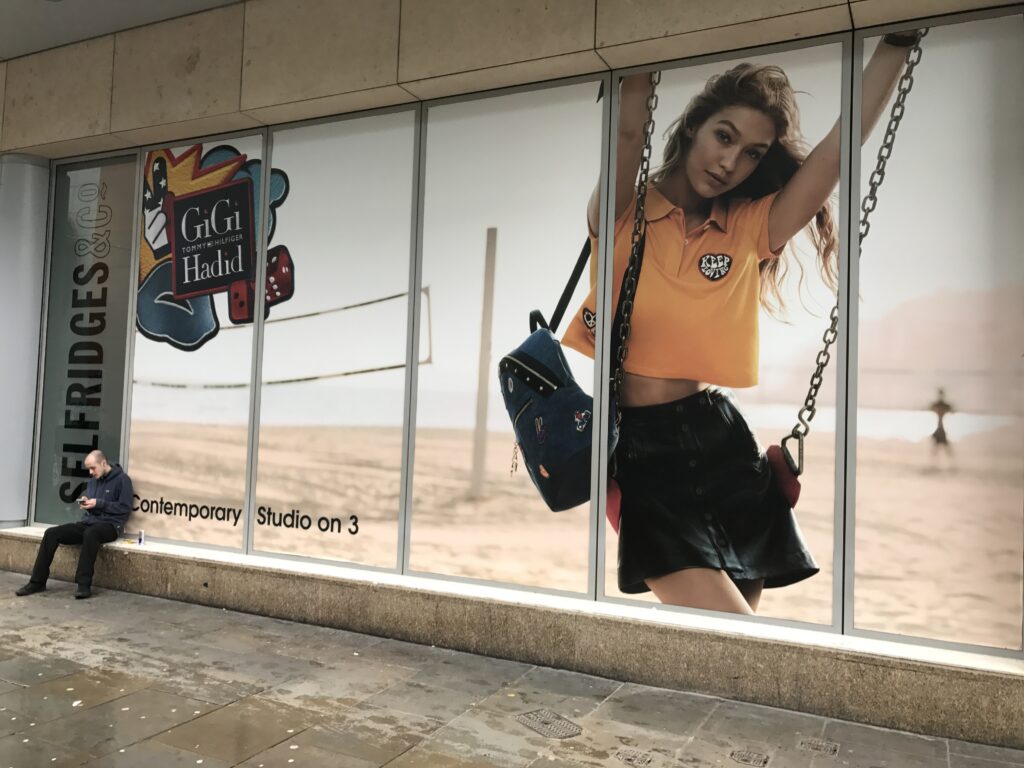
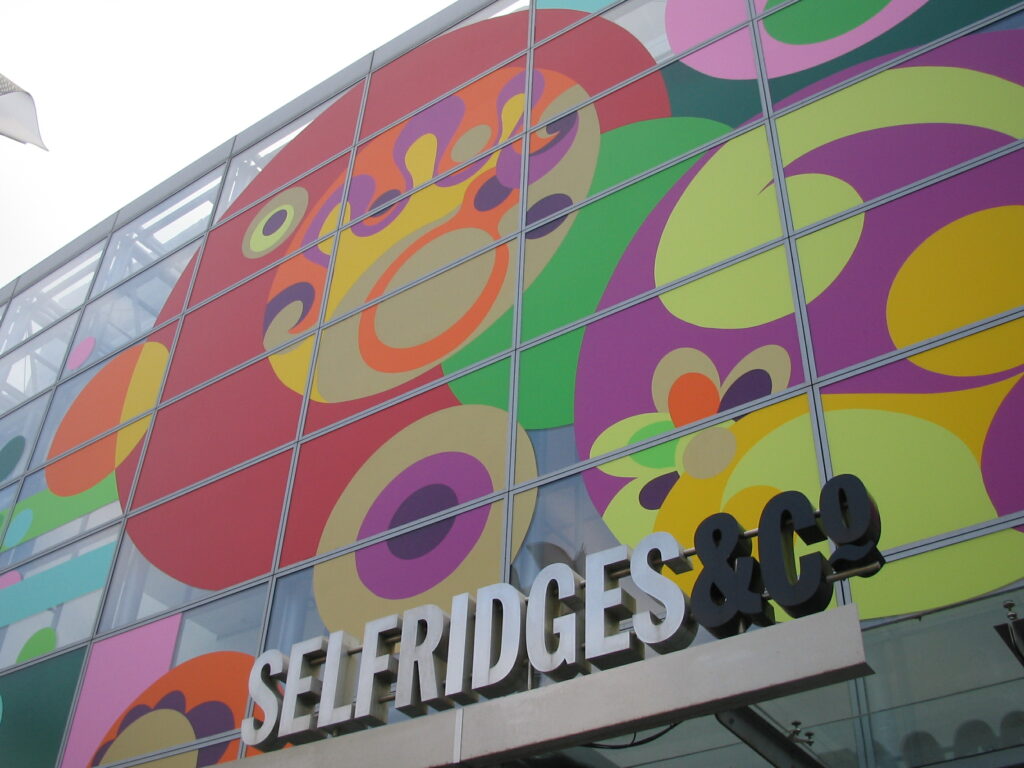
5. Bold and eye-catching designs
When designing the graphics, again it’s critical that you’re imagining every aspect of the passer-by’s experience.
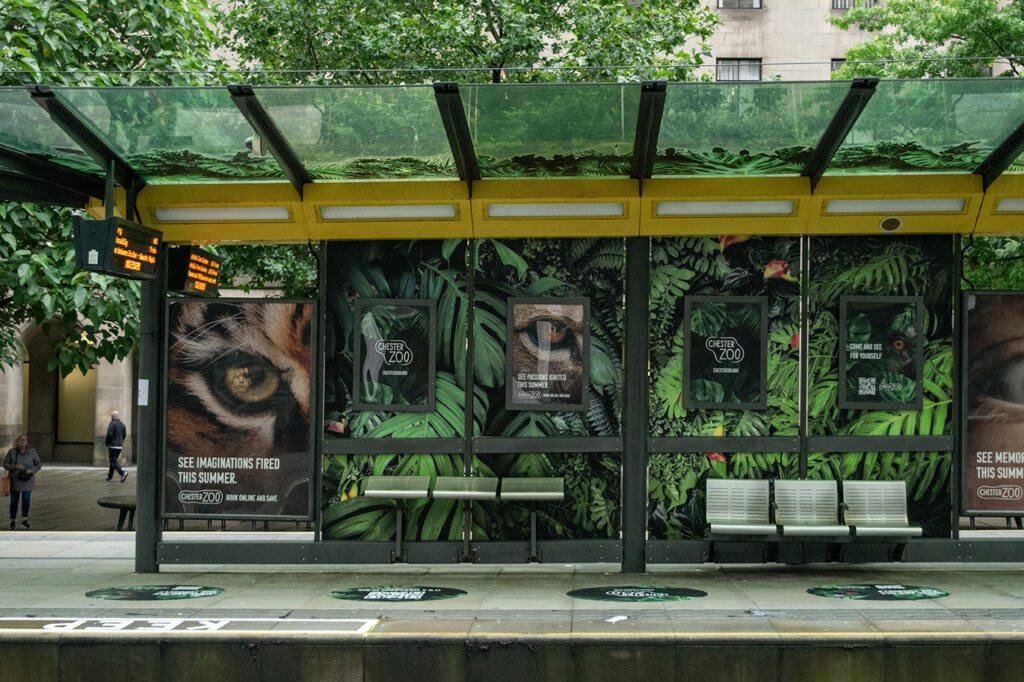
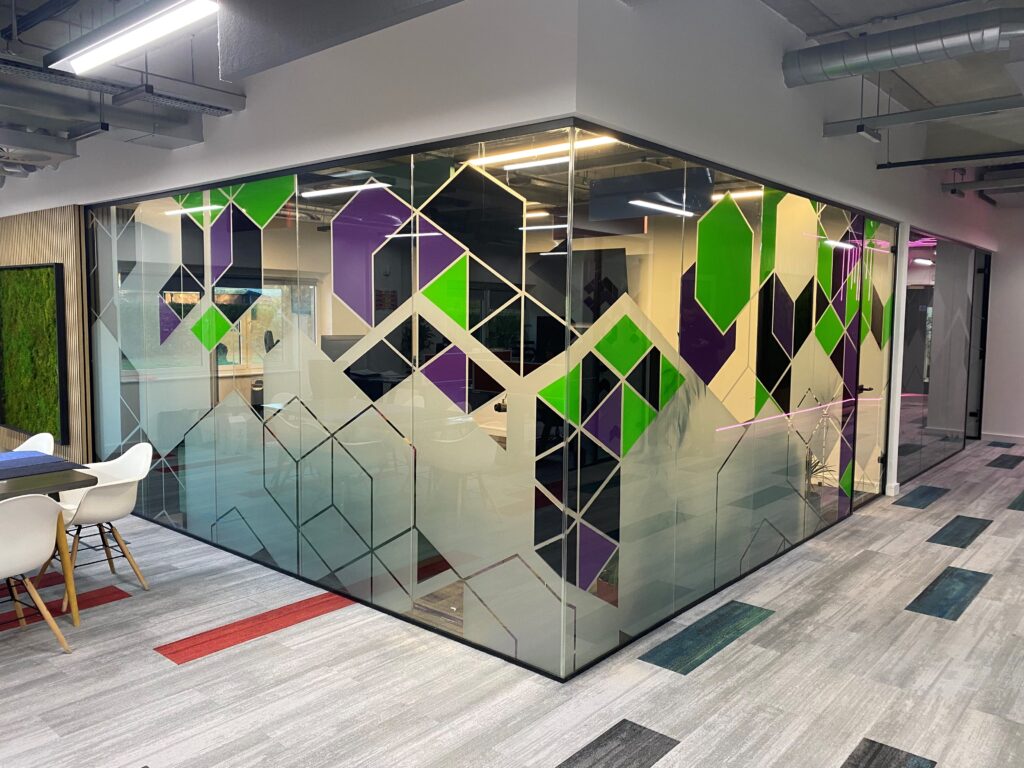
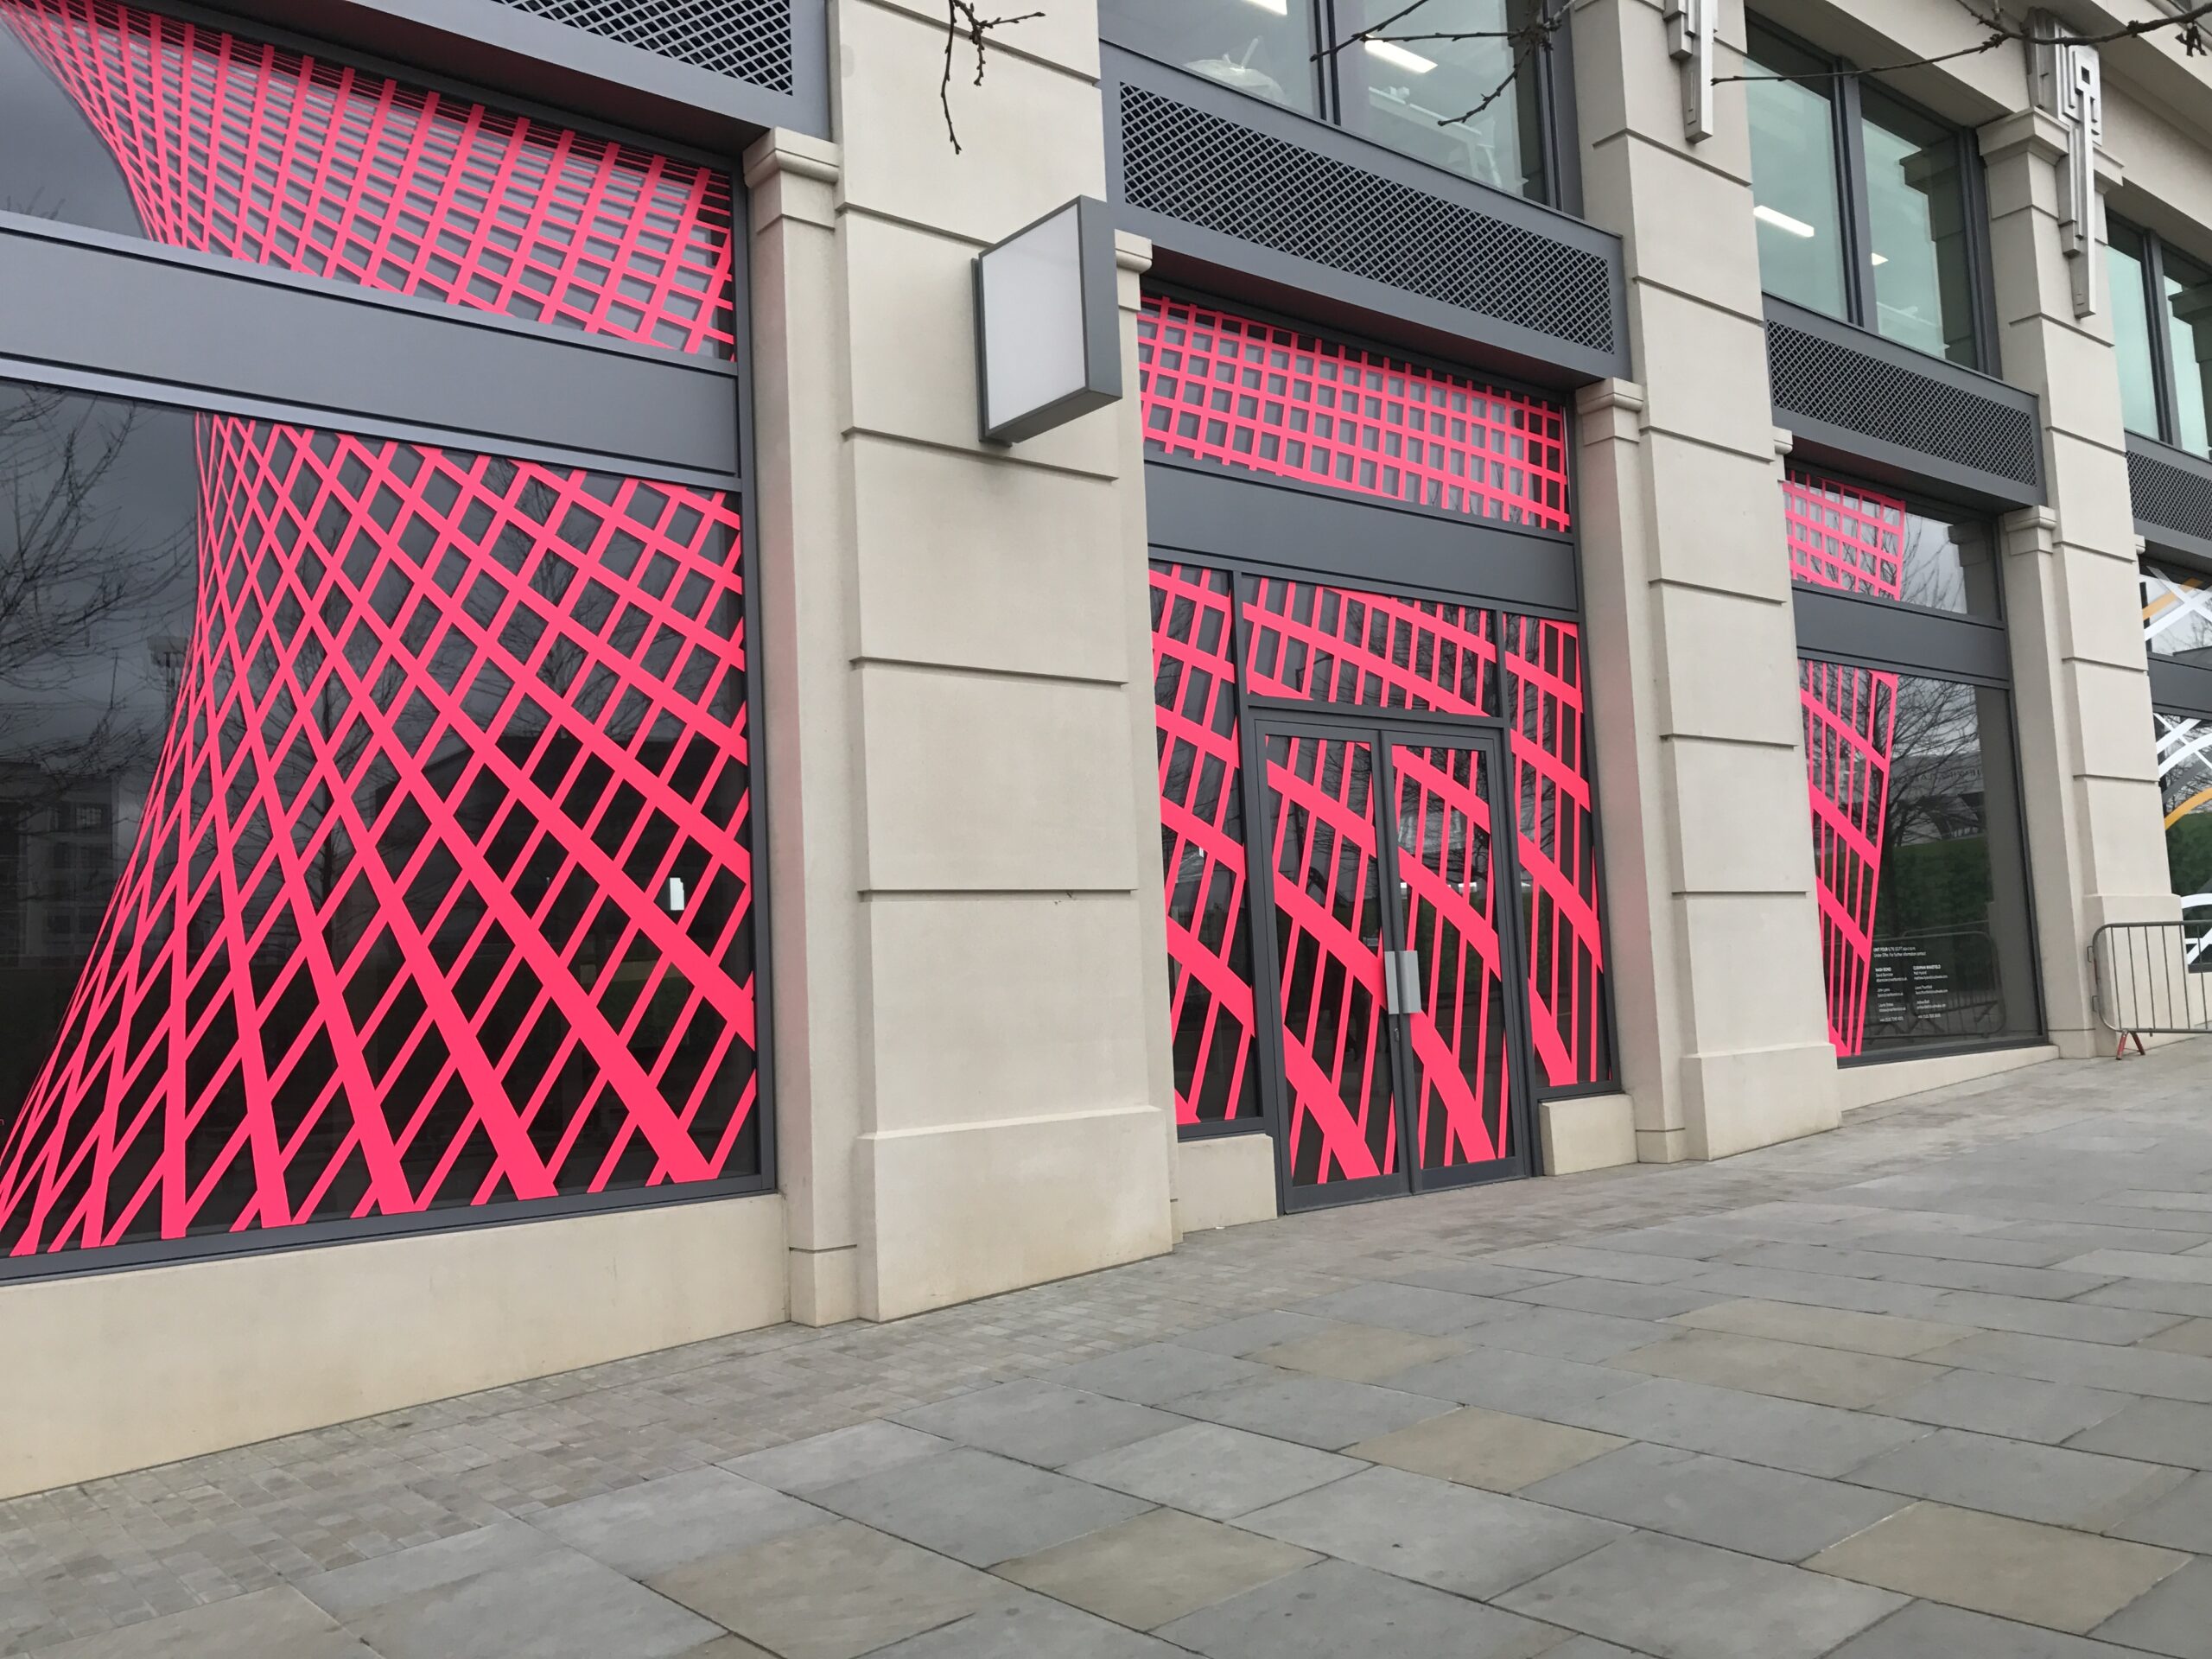
You want bold, eye-catching designs that don’t just look good as a PDF on a screen but work for your potential audience, capturing their attention no matter which direction they’re approaching from.
You also need to make sure you balance visual appeal with being practical – like making sure that text is at the right eye level for customers to read. And that all text is clear and legible, with strong colour contrast.
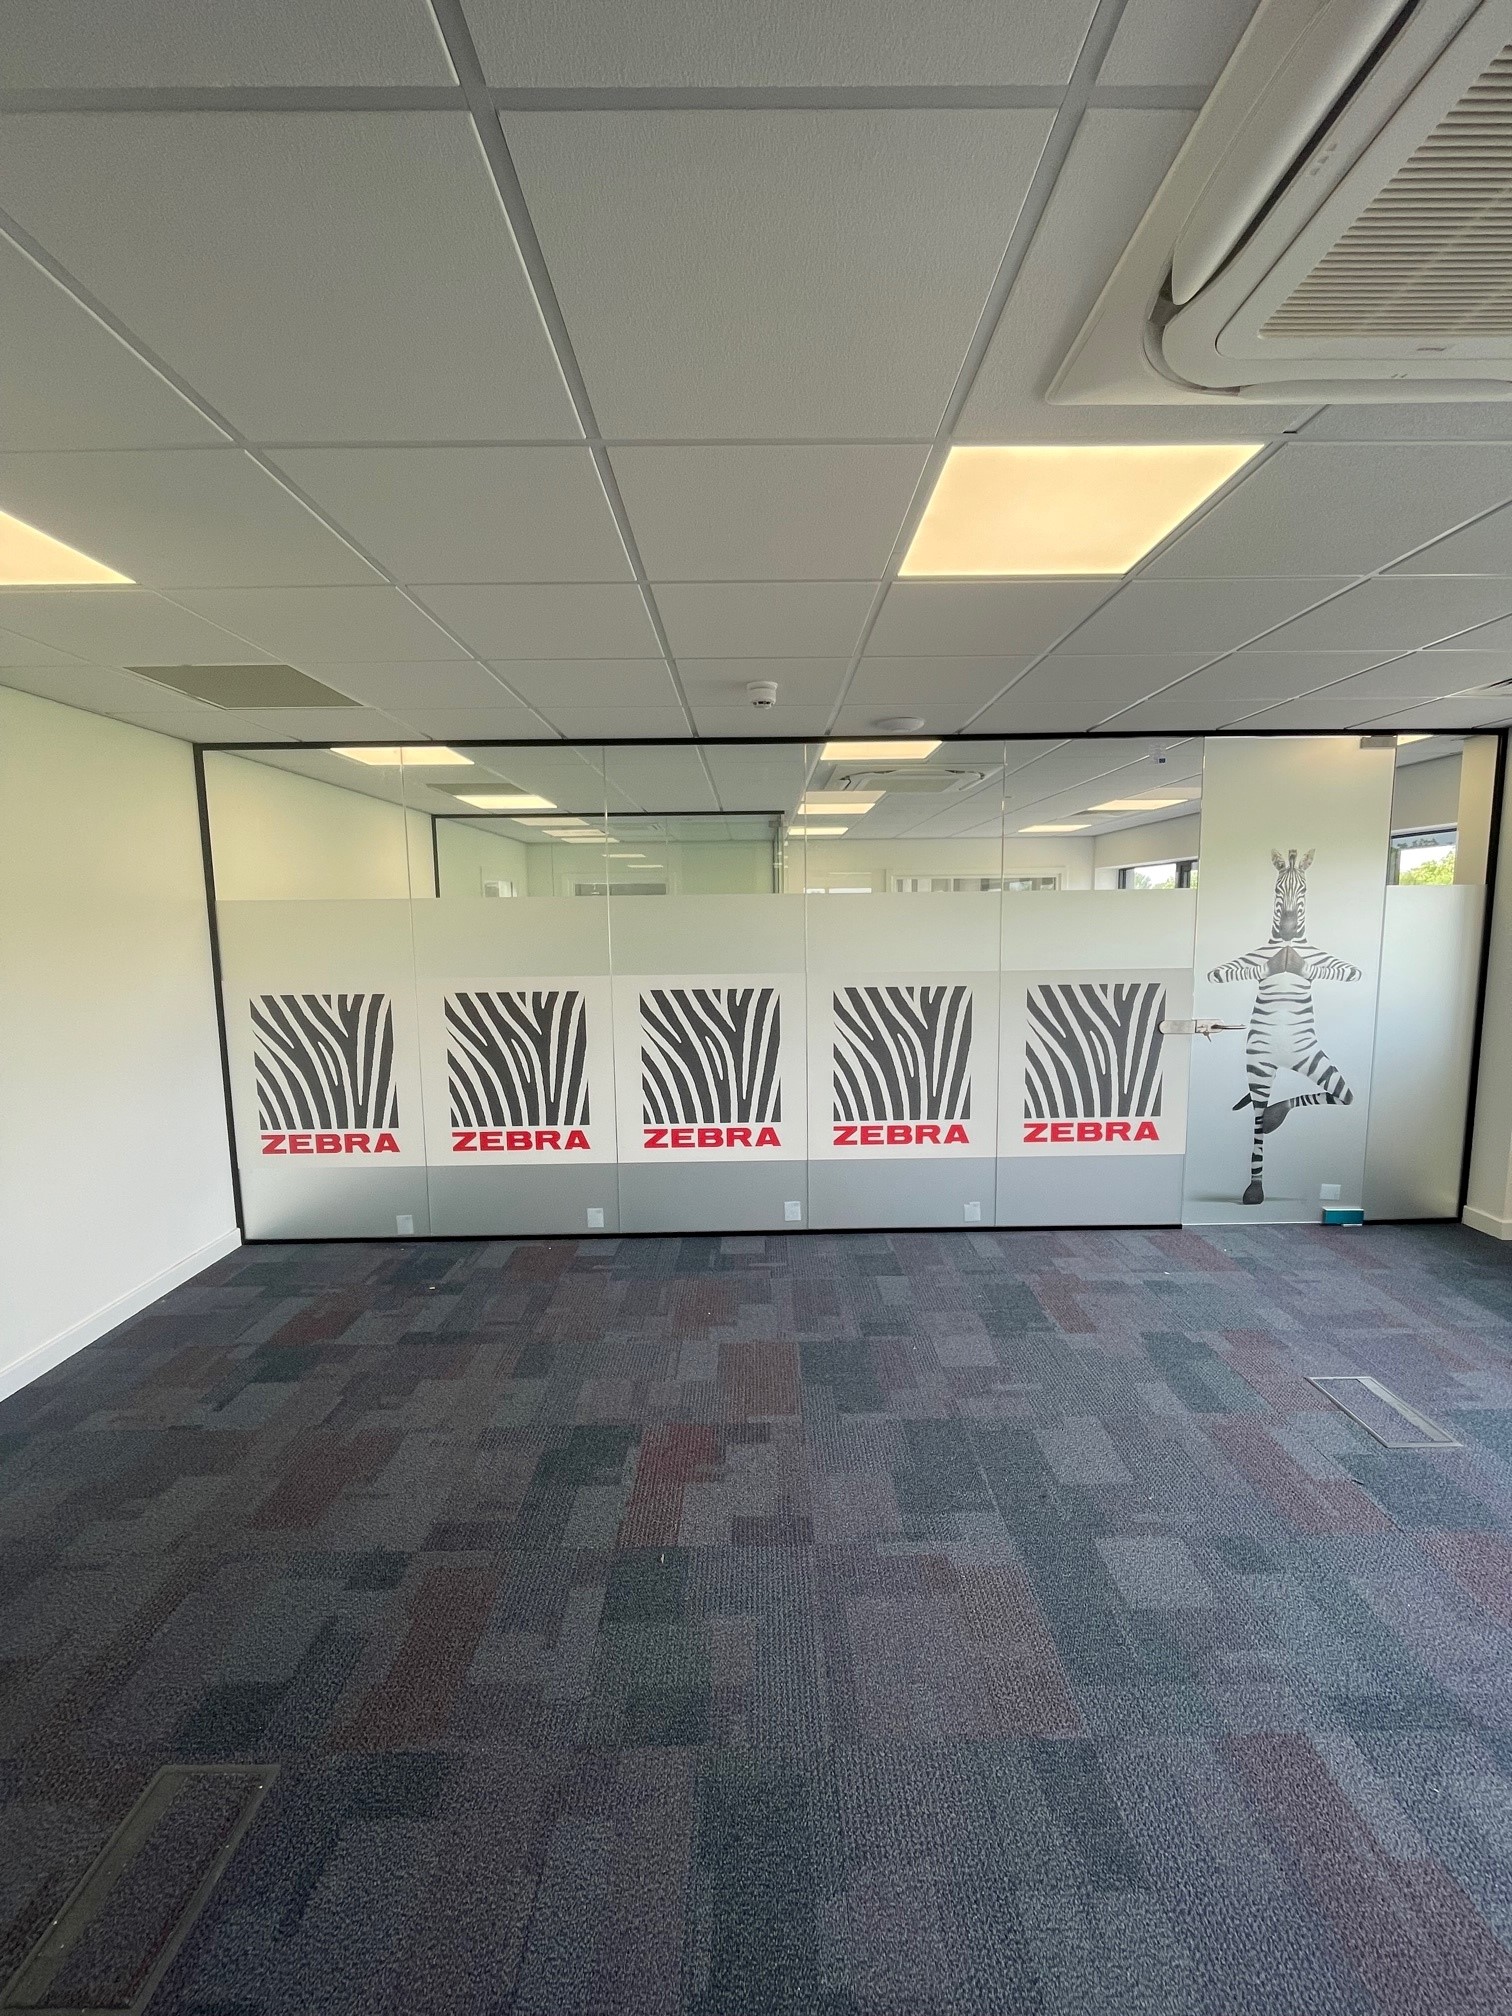
6. Follow it through in-store!
Once the final graphic has been selected, sent to print and your installation date is confirmed, most people sit back and relax – feeling the jobs done.
But don’t, just yet.
Because the part a lot of people forget, is what happens when someone comes into the store. So, your window may have highlighted a special offer on price or an exclusive product line.
Or is yours going to focus on a key differentiator of your business – an oasis of calm, best prices guaranteed, expertise you can trust etc.
When people see that and chose to enter your store for the first time, are you living up to those promises? Have you signage to direct them to the offer or product line being promoted?
Have you carried through the theme in-store to bring the concept to life? Your window graphic is a powerful tool to bring people through the door for the first time, but it’s their experience in store will determine if they convert to a one-off customer, turn into a loyal customer, or end up being a brand advocate.
Don’t put all this work into the window graphic and then leave their first impression to chance. Think through all aspects of the new customer experience.
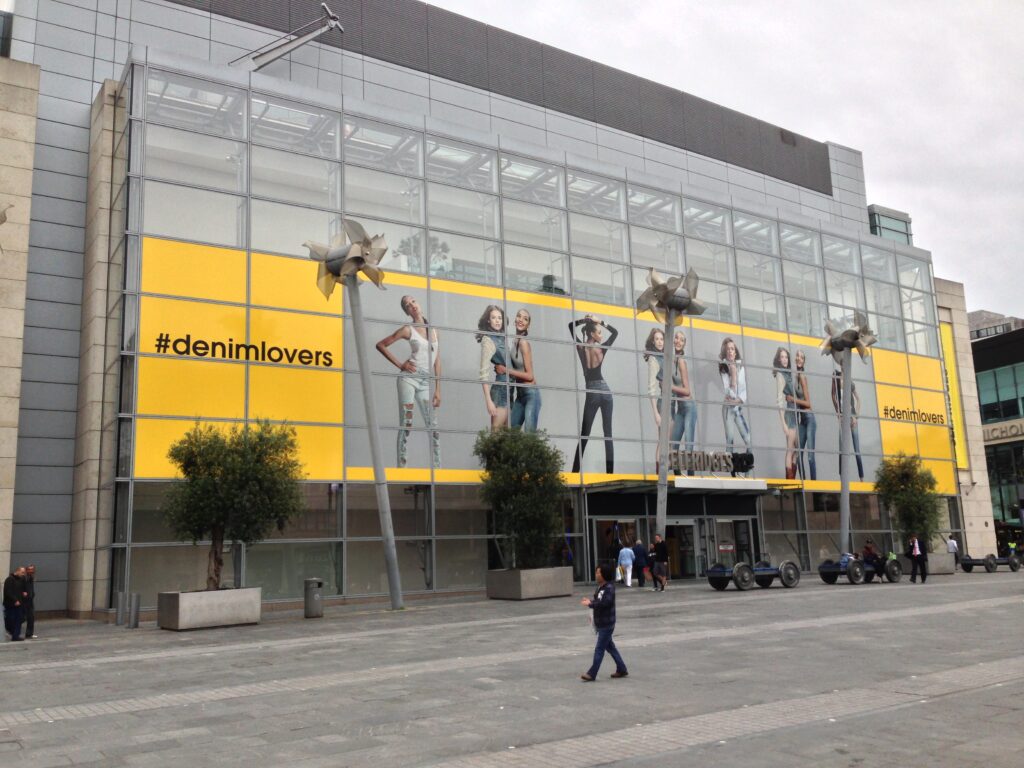
7. Start planning your next one
Start planning the next one, already? Before the last one is even installed? Unfortunately, yes!
Window graphics are great at catching attention, making you stand out and stopping people in their tracks. But… once people have seen it regularly, it will gradually get less attention. It will start to form part of the background… people will get used to it and stop noticing it.
So it’s important that your planning what’s next and when the right time would be to change out your graphic. Will it continue on the same theme, but be updated seasonally? Will it be a totally different concept and theme and focus or solving an entirely different need?